October 3rd, 2010
Lots of pics on this one!
So the thoughts are still lingering about a local and road change, but for the time being, I've focused on exploring the Easy Mat roadbed. I set up a cutting jig with some scrap wood and a folding table, cut out a few strips of the Mat, and put them down on the last remaining section of unfinished railroad. I had to double up the layers to match the height of the Homasote, and while the bottom layer stuck really well to the MDF, the 2nd layer did not stick so good. Granted, I did not use the liquid bonding agent called for in the directions, so all hope is not lost. I also found that it was only at the strip ends that the Mat wanted to move. The next 2 layer section with get the liquid, as I'm sure this will help out alot.
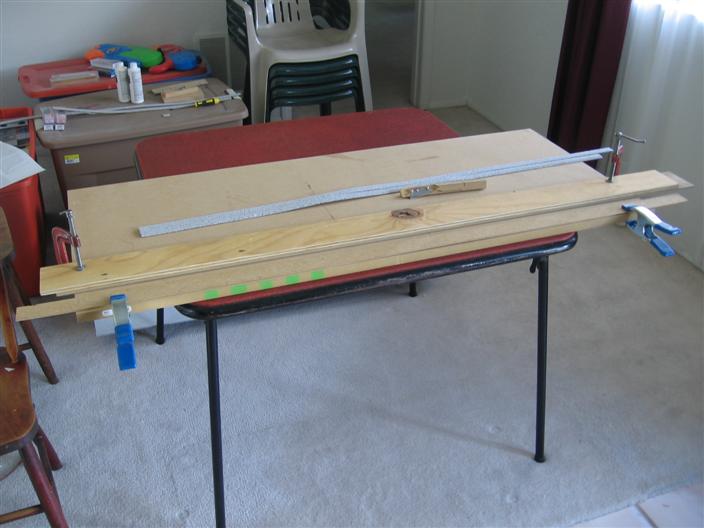
The simple jig set up on a folding table

3/4" MDF block with an Xacto blade attached. This one is vertical for cutting strips of the Easy Mat.
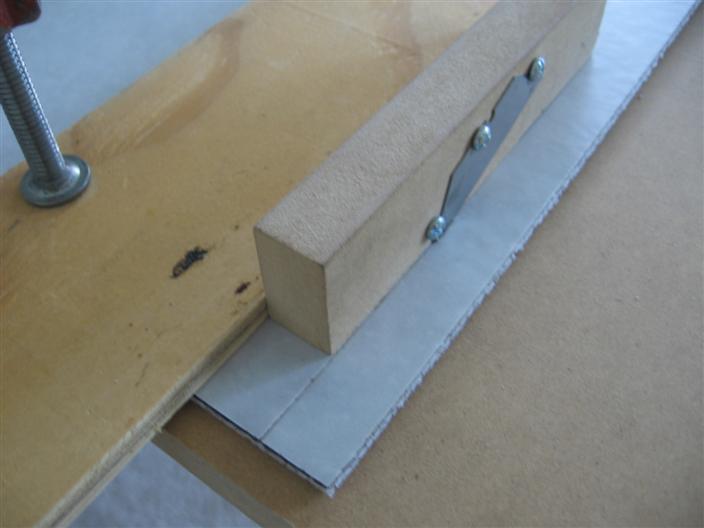
Clamped the Easy Mat and used a straight piece of wood for a guide. I just slide the MDF block along the Easy Mat to cut out the strips.
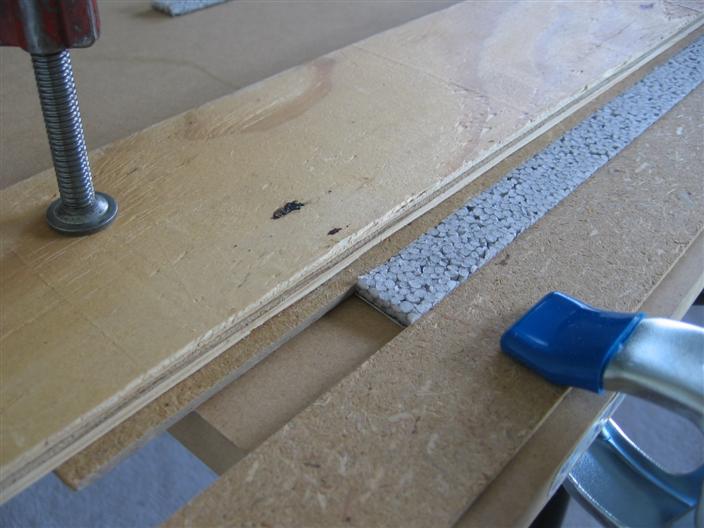
Once the strips are cut out, I rearrange the clamps and wood guides to fit the strips in.

And with an angled blade, I give the strips a 45° angle.

Two strips cut out and edges beveled.

Subroadbed with a track centerline.
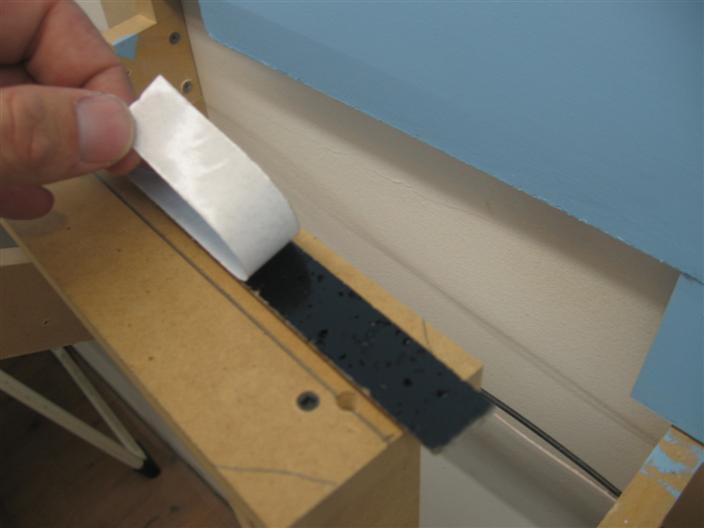
Peeling the backing off the Easy Mat.
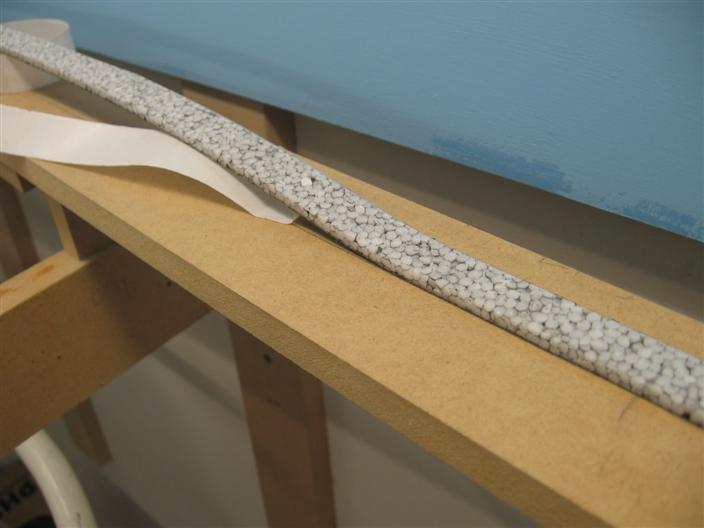
And sticking down the Easy Mat following the track centerline, while pulling the backing off at the same time.
One side down.
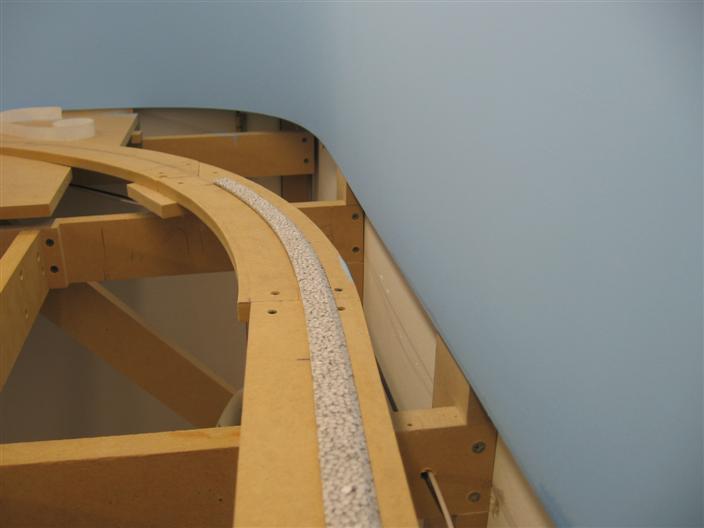
This stuff easily goes around curves.
2nd strip going in
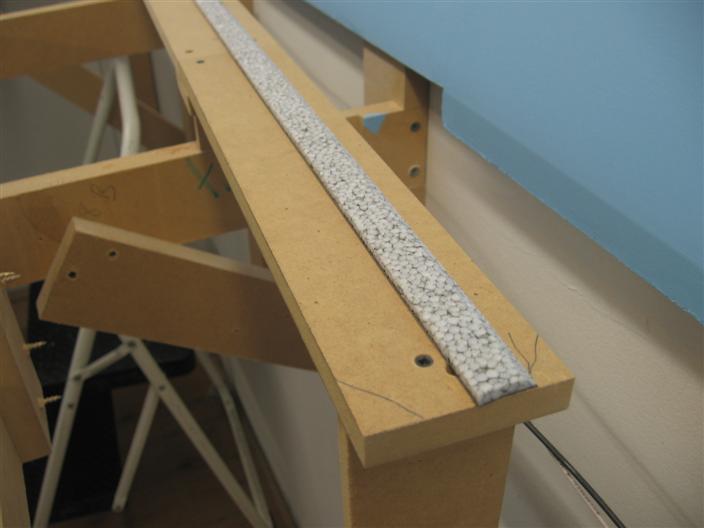
Both down
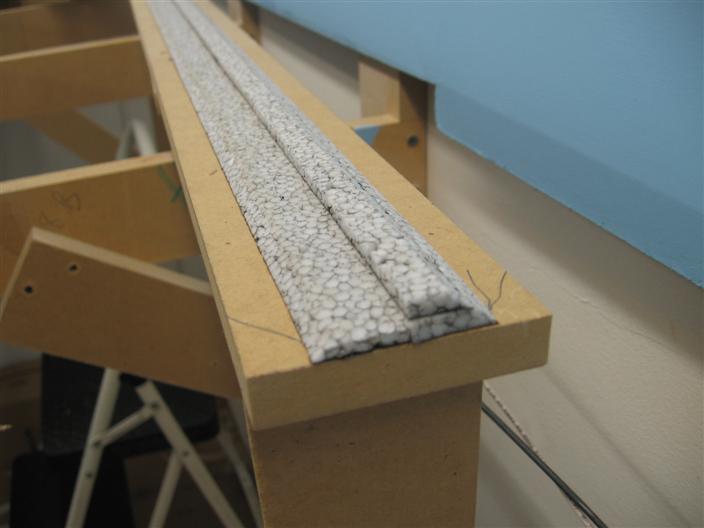
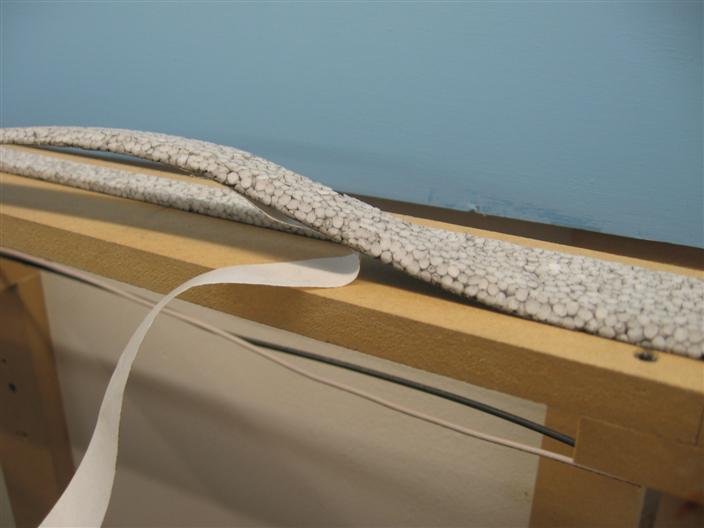
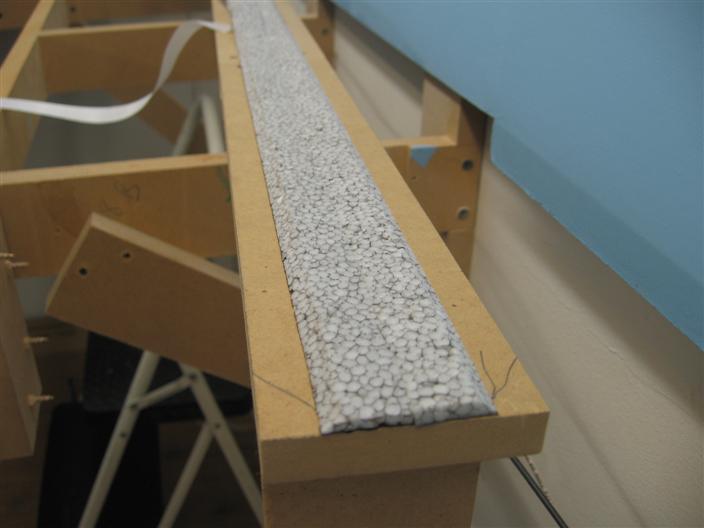
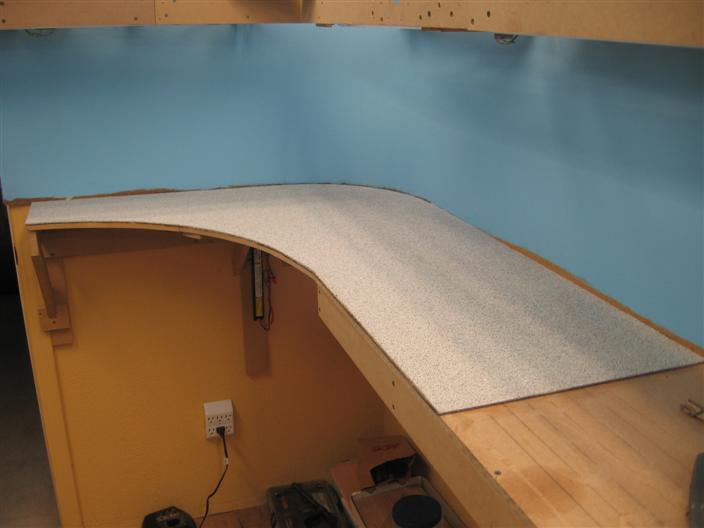
Doubling up to meet the same height as the homasote.

2nd top strip in and track
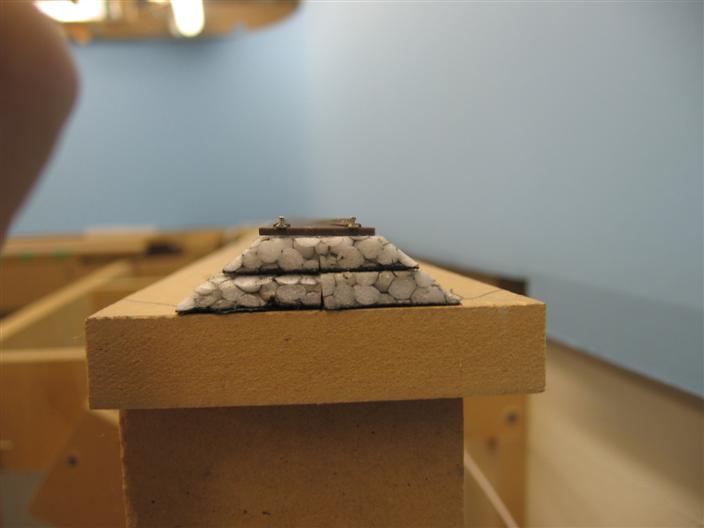
Cross section

This is as far as I've gone using the Easy Mat. Since the top layers have moved a bit, I'll pull them back up and apply the liquid bonding agent and see if that helps hold them better.
OK, so...
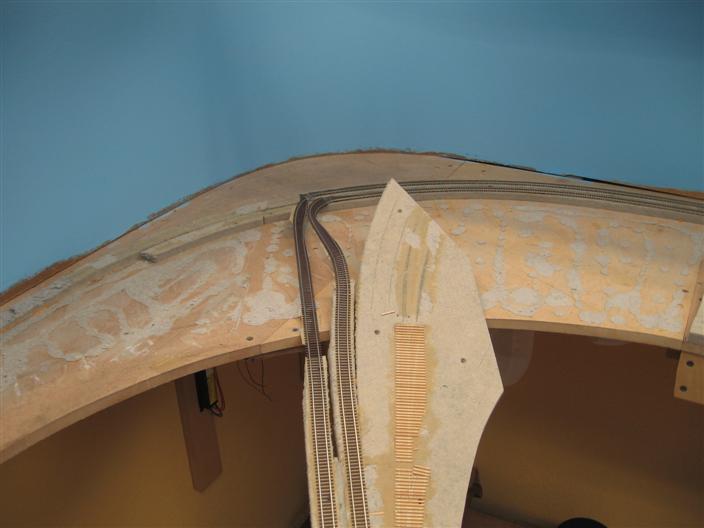
On to the next order of business, and that was tearing up the Homasote roadbed around the peninsula curve. This was put down a real long time ago, before I started adding a 45 bevel to the Homasote strips. I had already told myself that it was going to come out when I got there with the main line anyway, so it wasn't a spur of the moment thing.
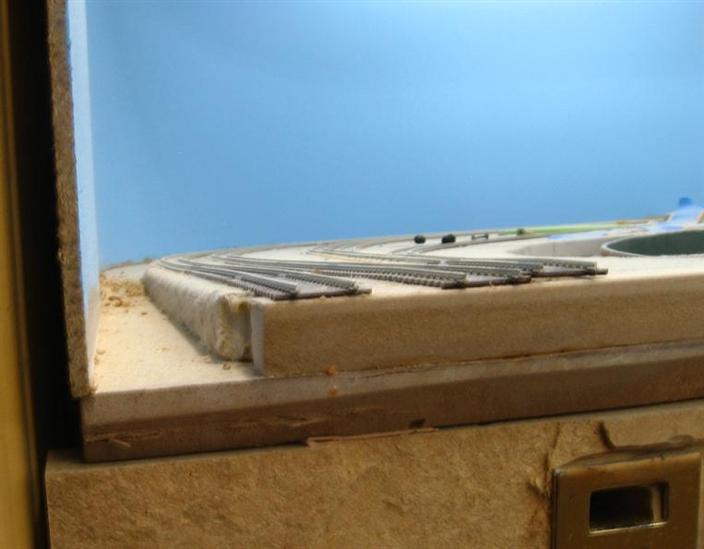
What WAS a spur of the moment thing was tearing out half the yard. I was having a sag issue with one of the cross braces holding up the area next to the room entrance and drop bridge. I had to cut it out a while ago and redo it so it would be out of the way of the Tortoise switch machines that would make up the south end of the yard throat. This weakened the area considerably. Along with a varying thickness of Homasote, the track profile looked like an "A" between the drop bridge and the first curve around the yard. So much in fact, that certain low riding cars would bottom out on the rails while going over the joint between the drop bridge and the benchwork. Here is what the dip looked like on the yard side. It was equally bad on the drop bridge side too.
I had put the support in too high that holds this side of the benchwork up. So the drop bridge had to angle up to meet up with the yard benchwork, forming the "A". I wasn't sure how to go about correcting this without having to tear it all out. Well, that became my only option. But it wasn't so bad, since it would give me another chance to correct yet another problem that came up. Guess my layout is just full of problems eh? =/
When entering or leaving the layout room, sometimes you would catch your shirt on the rail ends that were attached to the benchwork at the yard where the drop bridge meets up at. One time, it really grabbed on and I pulled 2 of the rails up and out of the plastic ties. They snapped back in place, but now they were pretty loose in the molded ties. So with this remodel job, I corrected that. I cut out some of the support and moved it back about 4 inchs. Now when you enter or leave the layout room, the track is tucked away far enough back that you don't hit it. So now I have to make the drop bridge longer to accommodate. So the track, 3 hand laid turnouts, and Homasote have been ripped up. I'll rebuild the drop bridge sometime this week.
So here's the destruction for this week....

Tearing up the Homasote around the peninsula

More homastoe and turnouts pulled up
Out it comes.

Smoothing out the MDF subroadbed for the yard.
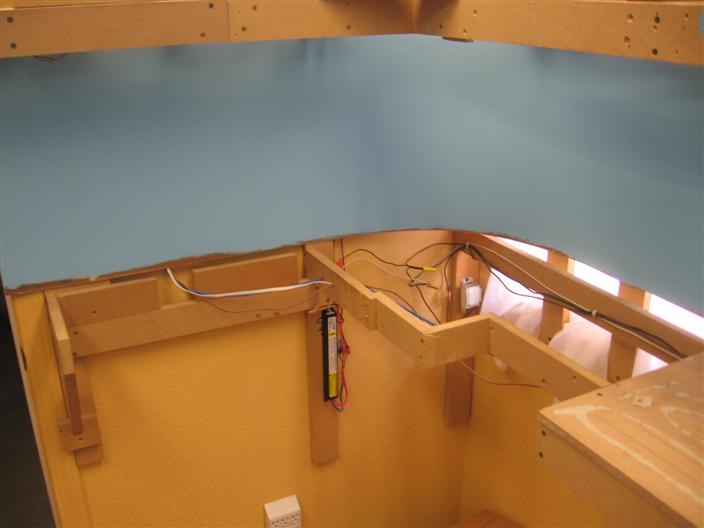
All ripped out and new support on the left installed. Note how far in from the doorway it sits now. It used to be even with the backdrop
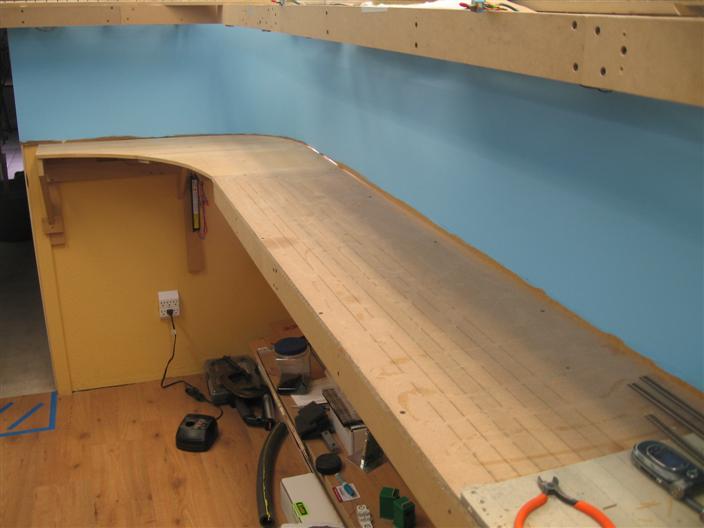
New MDF subroadbed for the far curved area, and the rest of the MDF has been sanded down and smoothed out
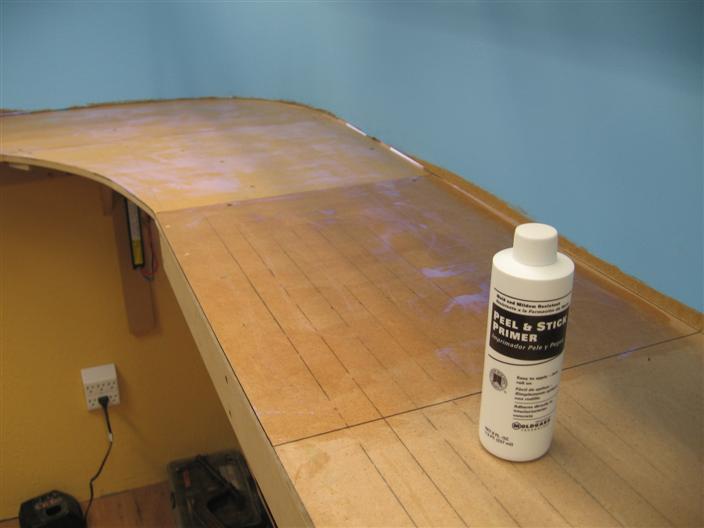
This time I'm using the liquid bonding agent for the Easy Mat. When the purple turns to clear, it's ready for the Mat
Easy Mat put down. I have to say, the bonding agent sure does work! Once the Mat is down, its down! No 2nd try for repositioning!

Close up of the Easy Mat. I will only do one layer of Mat for the yard. Next up is tearing out all those turnouts I laid so long ago. Still not totally sure yet, so I'll give it a week.
All material on The Owens Valley Subdivision website is Copyright 2007-2010 by Michael Stoner. None of the material (including text and photographs) on this web site may be reproduced in any form without prior written permission.