Hand Laid Turnout Tutorial
Here is a "how to" on how I lay my turnouts. I originally wrote this up for a thread on Trainboard. This is a shortened version (without all the questions) of the Trainboard version.
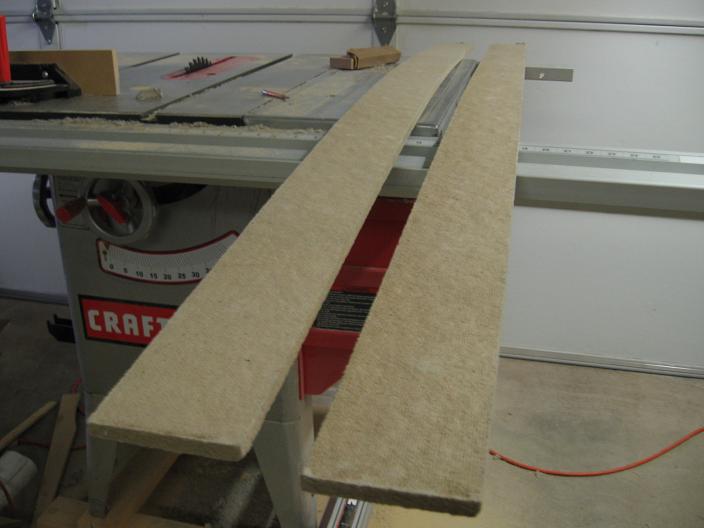
The first thing that comes into play when hand laying a turnout is the roadbed. When I started, everywhere I read stated that I needed to use Homasote for it's ability to hold the spikes. Well 4x8 sheets of Homasote is hard to find in most places, and where I live is no exception. What I did find was Homasote, but not in full sheets. At a local building supply store they sell an Expansion/Contraction product that goes between joints in concrete. It comes in 3.5" wide by 10' long strips 1/2" thick. I don't remember what their name for this was, but it's normal Homasote, no question. Here is a pic of what it looks like:
I know some of you won't be able to find homasote locally, so here is a company that sells it in strips: http://www.homabed.com/. This is a great option. Some of you already have cork or foam put down on your layout, so I'm going to do some experimenting with this other stuff to see how they hold up. But for this tutorial, I'll be using Homasote, since this is what is on my layout.
Ok, next up is the ties. I use both the 8'6" cross ties and 16' switch ties from Kappler Mill. http://www.kapplerusa.com/y2k/p-n-ties.htm Get the standard size (7" x 9")
The 8'6" ties are used for part of the turnout, and you can also use them around the layout for sidings or loads in cars. You can buy just the 16' switch ties, but you will have to cut a few down to 8'6" for some of the turnout. This choice comes down to how many turnouts you need to do. The 8'6" ties come in a bag of 1000 and will last you quite a while. The 16' switch ties come in a bag of 500, and you'll go through these pretty fast. Again, it all comes down to how many turnouts you will have to do. If you just want to test the waters, then get a bag of the 16' switch ties.
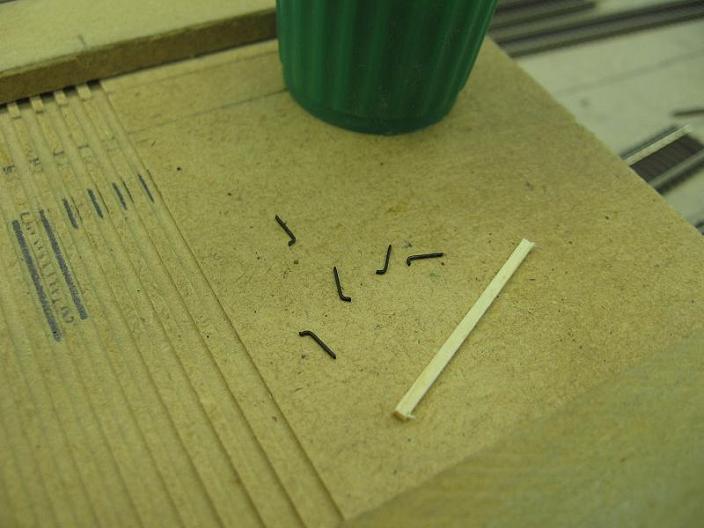
The spikes I use are Micro Spikes made by Micro Engineering. These have a smaller head on them and are shorter. These come in a bag of 1000. A typical #8 turnout will use right around 100 spikes, so get as many bags as you think you will need. Micro Spikes can be bought at many of the online retailers.
Micro Spikes and a 16' switch tie:
Now that we have the ties and spikes, we'll need a way to line the ties up for the turnout. Setting the ties in line one by one is insane, so we'll need some sort of tie jig. I've seen many different kinds of jigs made all sorts of ways, so I went with what I'm comfortable with.
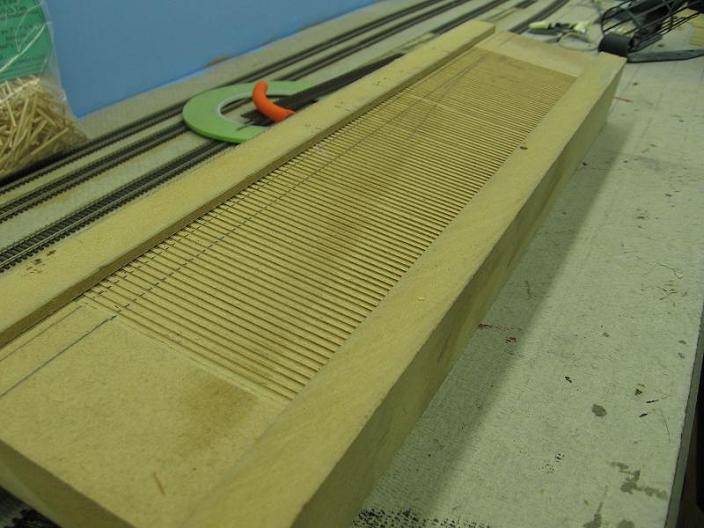
I made mine out of a piece of 3/4" MDF, 3.5" wide by 18" long. I made it this long so I could put 2 #8 turnouts into it at one time. You can make yours to whatever length you want. I then added 2 short pieces of 3/4" MDF to the top and bottom of the flat jig piece for legs, and to make a "block" for the ties to push up against. See pic below.
Using a piece of Atlas flex track as a guide, I drew a cut line across the MDF at every plastic tie. This was very time consuming. I left a bit of a flat area on each end of the MDF since I didn't need the cut lines to go right to the edge. I used a 7.25" skill saw blade that measures 1/16" wide put into my radial arm saw to cut the grooves out. The grooves were cut a little less than 1/16" deep to allow the tie to stick up some. Again, this was also very time consuming, but worth it, since I have many times put more than one turnout's worth of ties into the jig to make working at the layout go faster. Here are some pictures.
full tie jig
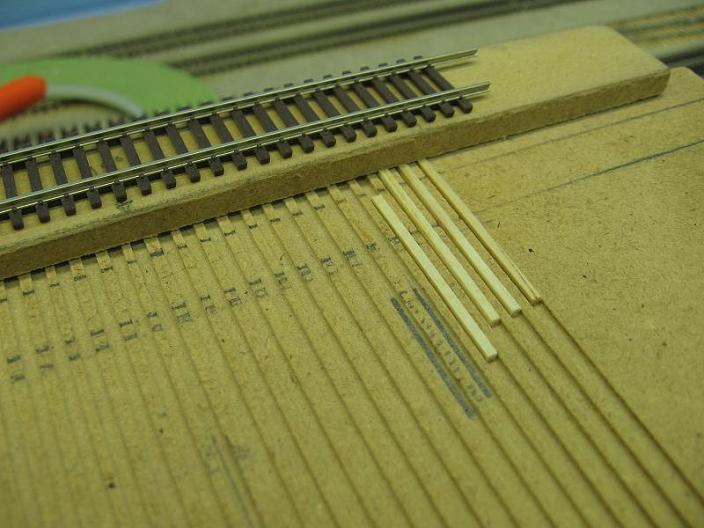
Here is a close up of the individual cut lines. A piece of Atlas flex track is there for reference. Note that the ties stick up above the rest of the jig, and butt up against the side of wood that the flex track is sitting on to keep the ties even.
If this is too time consuming or out of reach for some of you, then here is another way to make a tie jig.
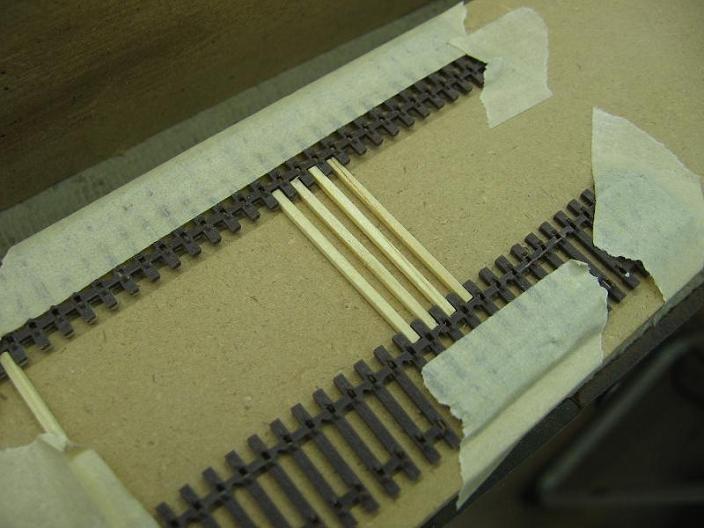
Take a piece of Atlas flex track and cut it to how long your want your jig to be. Glue it down to a piece of sturdy wood. Take another piece of flex (or whats left from the first piece) and using a straight edge and a 16' switch tie, glue the other piece down while putting the switch tie between the pieces of flex and keeping everything at a 90 degree angle. The disadvantage about this is that you can only use 16' switch ties.
Here is a mock up of what it would look like, just don't use tape!
Most all the turnouts on my layout are standard sizes. So instead of drawing each one out, Fast Tracks has already done this hard work for us. They have a superb turnout library for standard sized turnouts. They are in .pdf and can be printed out full size. It is located here:
Turnout Template Library
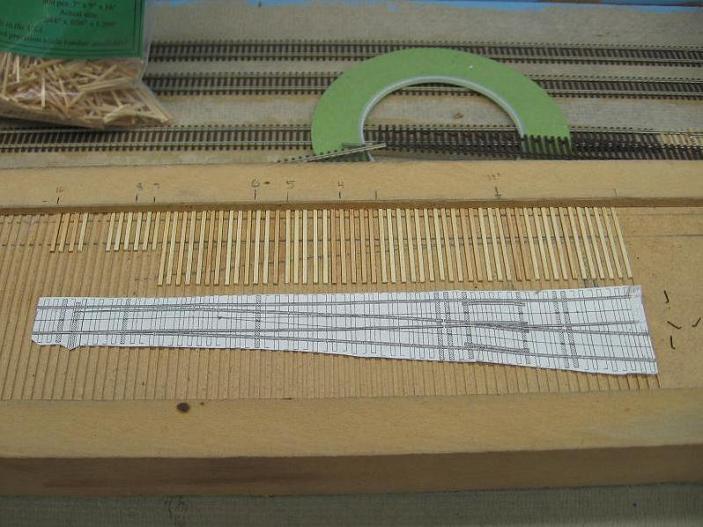
I print out quite a few of each kind when I'm working on turnout locations on the layout. For this turnout, I've printed out the #10 template and cut the right hand turnout out. We'll be using this in a little bit. When you cut these out, keep as close as you can to the tie ends.
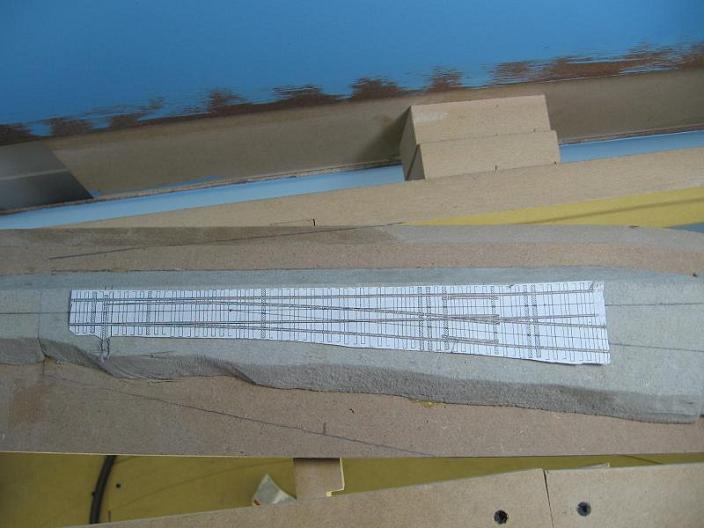
Since I had already drawn the track center line on the wood subroadbed, I then transfer it up to the homasote.

Now that I have my center line, I position the paper template into location. Keep an eye on both the straight route and the diverging route so they line up with the rest of your roadbed/track. Once you are happy with the location of the turnout, take a ruler and draw the diverging route's center line. The paper templates have the track center lines on them to help line everything up.
If you are using any sort of under the table switch machine, make sure you are not putting the throwbar/points area over any benchwork.
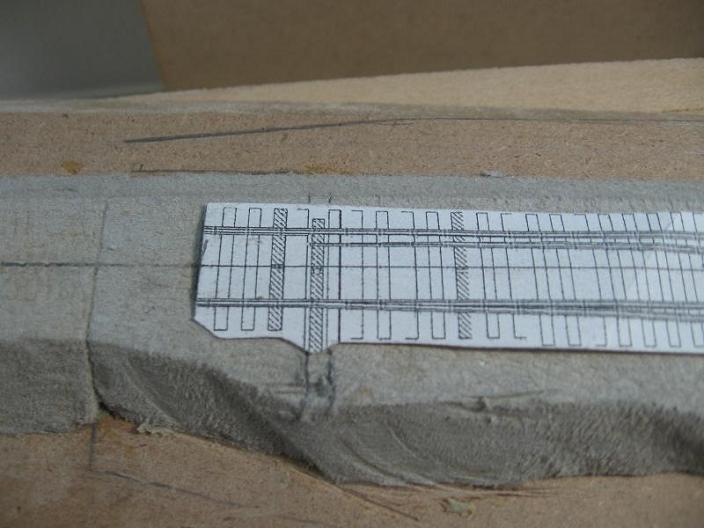
With the paper template still in position, mark each end of the turnout. By marking each end, we'll know where to set the ties to get them back into the correct position.
Another thing I like to do is mark the throwbar location, since this is a pretty important area of the turnout.
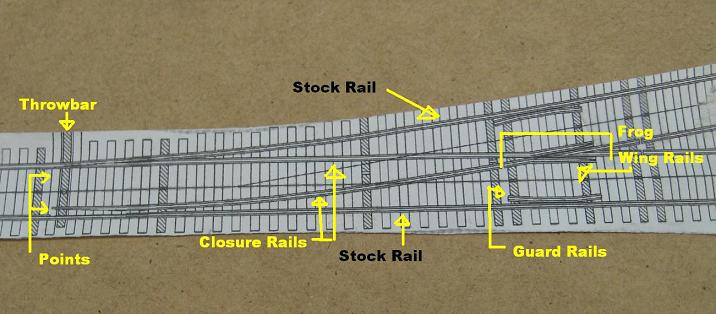
Before I get too far ahead, here is a picture with the turnout terminology. I'll be referring to all the rails of the turnout by their proper names, so this should help out if you don't know them already.
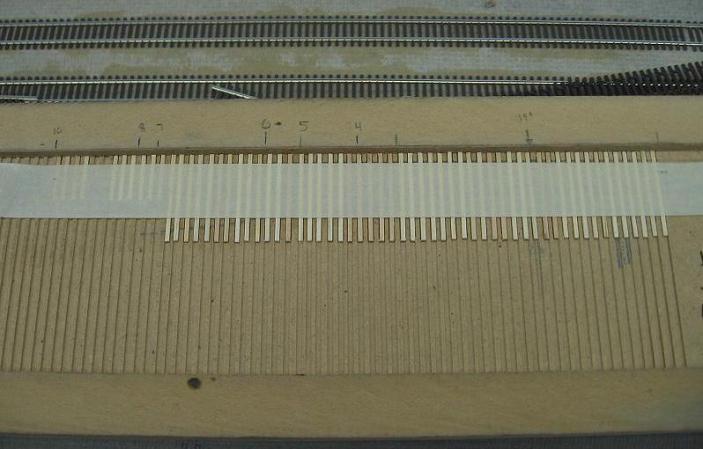
Ok, now that we have all the lines drawn, we'll take the paper template back to the tie jig. With my jig, I always start on the right side and put the ties in heading to the left. On the top, I've marked where most of the turnout sizes I use end at. For this one, I'll set the paper template in place on the tie jig and start putting in ties.
Looking at the left side of the turnout in the previous picture, I put down 4 regular sized (8'6") ties. Then skip Two tie slots. These skipped ties are the headblock ties which will go in later. Then I put in 6 more regular sized ties. Finish the rest off with 16' ties.
Once all the ties are in place, I use common brown masking tape and carefully put the tape down on top of the ties. Make sure you don't move any ties out of alignment! Leave enough tape hanging over each side so you can pick up the assembly without touching the ties. It should now look like this.
All material on The Owens Valley Subdivision website is Copyright 2007-2009 by Michael Stoner. None of the material (including text and photographs) on this web site may be reproduced in any form without prior written permission.